Showing posts with label 3DC to Railworks - Locomotives. Show all posts

Wednesday, October 31, 2012

3DC to Railworks - Locomotive: Afterward and Revision History

3DC to Railworks - Locomotive: Afterward and Revision History
by Dan "PapaXpress" Vystrčil


< PreviousIndex


So what changed between the original and the current version? Not too much. All up to part 4 in the blueprint step is intact. I added part 5 to blueprinting on how to add your locomotive to the trainset filter. Jerry said he would not create a tutorial for, but he gave us the steps to complete on RWA, so I formatted it and added screenshots. I also moved the brief section on scripting from part 4 into its own section.

3DC to Railworks - Locomotive: Basic Scripting

3DC to Railworks - Locomotive: Basic Scripting
by Jerry "SMMDigital" Conaway


< PreviousIndexNext >


In previous sections of this tutorial, we have created the physical lenses, a switch, the point lights, and control values for an interior cab light. Despite all of this, the cab light still won't work. We need to add a few lines of basic code to our Engine Script in order to get it to work.

Start out by opening your LUA script, located in the Default/Simulation folder. You can open this file using any good word editing program (Notepad++ is my weapon of choice). Keep in mind that we are using script from the default ES44.

3DC to Railworks - Locomotive: Blueprinting Part 5

3DC to Railworks - Locomotive: Blueprinting Part 5
by Jerry "SMMDigital" Conaway,
adapted by Dan "PapaXpress" Vystrčil


< PreviousIndexNext >


In this section we will briefly cover how to add your locomotive to the Trainset filter.

529. First, you need the PreLoad folder placed as a sub-folder in your Locomotive's main folder.

Tuesday, October 30, 2012

3DC to Railworks - Locomotive: Blueprinting Part 4

3DC to Railworks - Locomotive: Blueprinting Part 4
by Jerry "SMMDigital" Conaway


< PreviousIndexNext >


506. Once we are finished making our Spot and Point lights, we need to start listing them as Child Elements. Now we are ready to begin previewing the locomotive in the Asset Editor, so go back through your Locomotive Blueprint before this step and make sure everything is what it is supposed to be.

3DC to Railworks - Locomotive: Blueprinting Part 3

3DC to Railworks - Locomotive: Blueprinting Part 3
by Jerry "SMMDigital" Conaway


< PreviousIndexNext >


459. We are now going to be working in a sub-division of the Locomotive Blueprint called "Children". I don't want to make a new Engineer character, so I'm going to reference one from RSC in my blueprint. This is called "aliasing" in game parlance. Now we cannot put the reference directly into our source blueprint, as the Compiler will try to export it and we will get an error because it doesn't exist in the Kuju source folder. What we will have to do is place the reference in our blueprint AFTER it is exported using RW_Tools.

Monday, October 29, 2012

3DC to Railworks - Locomotive: Blueprinting Part 2

3DC to Railworks - Locomotive: Blueprinting Part 2
by Jerry "SMMDigital" Conaway


< PreviousIndexNext >


411. References to the Bogie Blueprints are input next. The first number is the metric conversion of the measurement from the center point of the locomotive to the center of the locomotive bogie. The second number is the radius of the wheel and will govern how high the wheels are off the rail. Ever see a locomotive that is floating above the rails? Fubaring this number is one of the reasons why.

Friday, October 26, 2012

3DC to Railworks - Locomotive: Blueprinting Part 1

3DC to Railworks - Locomotive: Blueprinting Part 1
by Jerry "SMMDigital" Conaway


< PreviousIndexNext >


365. The starting point to getting our locomotive in the game involves creating Provider and Product folder within the Railworks source folders. I am going to set this up in the same way that RSC does for it's DLC locomotives. Open up Railworks, and under the Tools and Doc tab, click on the "Source Folder" button.

Tuesday, October 23, 2012

3DC to Railworks - Locomotive: Animation Part 2

3DC to Railworks - Locomotive: Animation Part 2
by Jerry "SMMDigital" Conaway


< PreviousIndexNext >


352. Like the throttle, DB, and reverser, the Sander is a simple back-and-forth lever, animated in one direction.

You may notice the light that comes on when the Sander lever is pushed into the "on" position. This is a simple thing to do. You simply make a "lit" version of the Sander light as a separately grouped part and hide it somewhere inside the console. After you animate the lever, animate the light by selecting it and moving it into position in front of the "off" part when the lever is about one or two frames into it's animation. Select both the Sander lever and the light when you export the animation.

3DC to Railworks - Locomotive: Animation Part 1

3DC to Railworks - Locomotive: Animation Part 1
by Jerry "SMMDigital" Conaway


< PreviousIndexNext >


WARNING: We are in virgin territory here, as I have never done animation for a locomotive in Railworks. It is very possible that what I am doing is totally wrong and that this tutorial will have to be re-written at a later time. At this time, you should consider this tutorial merely as an entrance into the world of animation in 3DC. Less adventurous individuals should skip this tut entirely until later in the Blueprint process, when we can see if the methods presented here actually work.

If you have ever seen the movie "The Empire Strikes Back", there is battle where the forces of the Rebel Alliance are fighting against lumbering Imperial war machines called All Terrain Armored Transports. They looked like giant metal elephants. Back in 1980 when ESB was made, there were no computers to animate these hulking machines. They were physical models that were moved piece by piece, frame by frame, by special effects artists between shots. It was a painstaking and time consuming process, but the effort won the movie kudos from sci-fi fans and the movie industry in general.


3DC to Railworks - Locomotive: Paint Your Wagon Part 3

3DC to Railworks - Locomotive: Paint Your Wagon Part 3
by Jerry "SMMDigital" Conaway


< PreviousIndexNext >


337. When you apply the texture to the part, in order to enable transparency in the game, under the "Rail Sim" custom material field, you should input "TrainBasicObjectDiffuse.fx". Under the "Tx Alpha" field, put in "Transparency"

Monday, October 22, 2012

3DC to Railworks - Locomotive: Paint Your Wagon Part 2

3DC to Railworks - Locomotive: Paint Your Wagon Part 2
by Jerry "SMMDigital" Conaway


< PreviousIndexNext >


Now that we have our texture templates, it's time to begin filling them in. This is the part that requires a bit of artistic sense, and since I have very little of this, I can only give you very basic pointers about the mechanics of this operation. I will tell you that detailed photographs of the subject you are trying to recreate will be very helpful in this area. Also, this color chart at 3DTrains will help you in painting your locomotive in the colors you desire.

304. In the imaging program that you are using, create a texture that is the same size (should be 1024x1024) as the template you wish to fill in. Give the template a color that is similar but not quite the same as the main body color. You will notice in some of my photographs that I made my background color the same as primer paint. This is a bad idea, as it is much brighter than the locomotive, and if you don't get your applications just right, you will have brightly colored gaps at the seams of your parts.

3DC to Railworks - Locomotive: Paint Your Wagon Part 1

3DC to Railworks - Locomotive: Paint Your Wagon Part 1
by Jerry "SMMDigital" Conaway


< PreviousIndexNext >


Everything that we have done so far is important in the grand scheme of getting a locomotive in Railworks, but texturing the model is more important than most other aspects. A good paint job can mean the difference between a professional looking model and one that looks as if it belongs in MSTS. It takes a bit of in-born artistry and a lot of patience to digitally paint a locomotive - and both of those qualities I'm in short supply of. Thank goodness for people who like to repaint things!

In this tutorial section, I will cover how to get a rudimentary coat of paint on the locomotive that we have been working on. As I stated, I'm no Picasso, so the way I do it may be much less than what would be required by a professional artist. But hopefully we will be getting something presentable into the game.

Before we get too deeply involved in painting, I'm going to throw out a few terms and definitions that you will be seeing over and over throughout this section:

Alpha Channel: This is a sort of "Layer" that is applied over a diffuse texture to give the parts it is painted to transparency. For example, instead of using 3DC to cut holes in the mounting steps of a locomotive, you can place an alpha channel over the step "paint" on the Diffuse texture and the holes will be painted on the step. The alpha channel on the image at left is shown in red.

Tuesday, October 16, 2012

3DC to Railworks - Locomotive: Cabview Part 3

3DC to Railworks - Locomotive: Cabview Part 3
by Jerry "SMMDigital" Conaway


< PreviousIndexNext >


265. More Chamfer.

3DC to Railworks - Locomotive: Cabview Part 2

3DC to Railworks - Locomotive: Cabview Part 2
by Jerry "SMMDigital" Conaway


< PreviousIndexNext >


238. Now we get to the really important business - control surfaces for the locomotive. We will start by making the handle for the Dynamic Brake, Throttle, and Reverser. Pull a cylinder onto the scene and give it dimensions that will match what you have on your locomotive.

3DC to Railworks - Locomotive: Cabview Part 1

3DC to Railworks - Locomotive: Cabview Part 1
by Jerry "SMMDigital" Conaway


< PreviousIndexNext >


A locomotive in Railworks is actually made of two models. The first model is the one we just finised constructing. It is seen when the player is moving outside of the train. The second model is the Cabview, which is seen from inside the train.

205. The first step to creating a cabview is to open the locomotive shape that we have just constructed and save it as a different file. This file will constitute the cabview. For naming, putting a "_cabview" suffix on the end of the name should be sufficient to differentiate it from our external model. 
After you have saved the cabview model, we will begin constructing the interior model by removing everything from our locomotive that will not be seen from inside the cab. The only things you will need to save from our original model is the cab interior, the hoods, decking  and whatever handrails can be seen when looking out the window on either side of the cab. Delete any parts or faces that won't be seen. Get rid of as much as you can without sacrificing view quality. We need to save polys here because we will be adding some high detail stuff to the cab interior.

Monday, October 15, 2012

3DC to Railworks - Locomotive: Detailing Part 3

3DC to Railworks - Locomotive: Detailing Part 3
by Jerry "SMMDigital" Conaway


< PreviousIndexNext >


181. A tilted cylinder and three simple cube shapes are used to simulate the handbrake chain-guide.

Saturday, October 13, 2012

3DC to Railworks - Locomotive: Detailing Part 2

3DC to Railworks - Locomotive: Detailing Part 2
by Jerry "SMMDigital" Conaway


< PreviousIndexNext >


153. Build the exhaust stack by Chamfering a cube, then layering other shapes with it. You may delete some faces and use the Double-Side plug-in as well.

3DC to Railworks - Locomotive: Detailing Part 1

3DC to Railworks - Locomotive: Detailing Part 1
by Jerry "SMMDigital" Conaway


< PreviousIndexNext >


110. We will start detailing the locomotive by placing the forward light bar and number boards. Here, I've taken a simple cube and resized it to fit the Template. A couple of Chamfer operations on each corner give it the desired roundness.

Wednesday, October 10, 2012

3DC to Railworks - Locomotive: Bodywork

3DC to Railworks - Locomotive: Bodywork
by Jerry "SMMDigital" Conaway


< PreviousIndexNext >


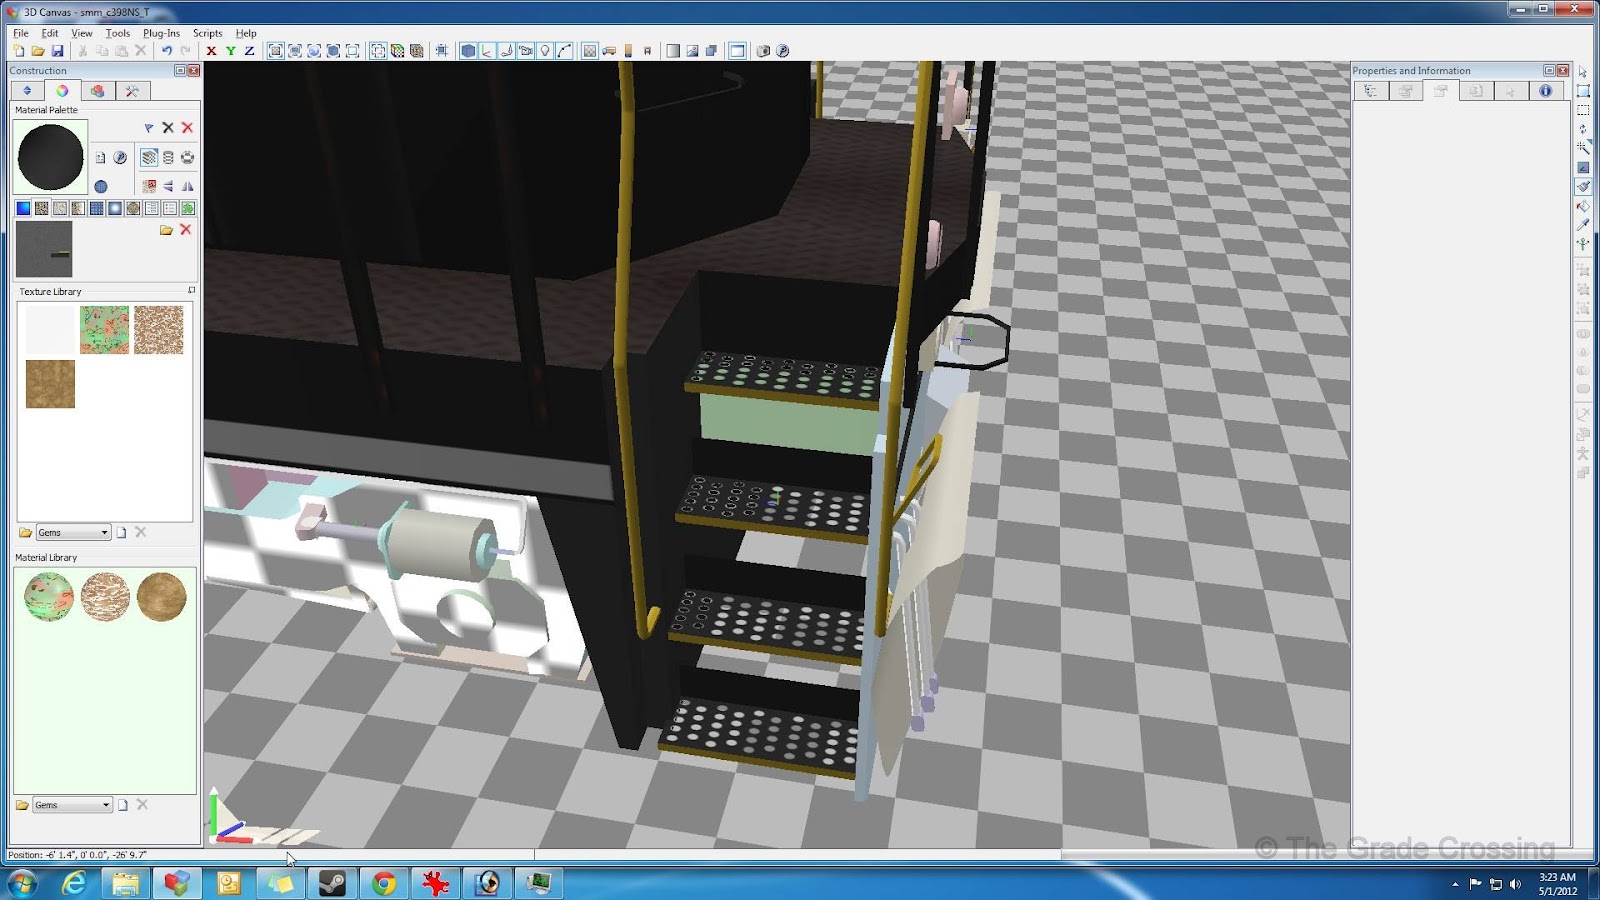
79. To begin work on the underside of the locomotive, I make a box that is the length of the locomotive, and six feet wide. In real life, this would simulate the frame rails that the deck is welded to. It helps give an idea of how things are set up above the bogies.

Tuesday, October 9, 2012

3DC to Railworks - Locomotive: Bogies Part 2

3DC to Railworks - Locomotive: Bogies Part 2
by Jerry "SMMDigital" Conaway


< PreviousIndexNext >


46. We've done our check, and we are halfway there on polys, so we will have to be creative, and may have to paint some details in. For right now, lets start making the journal boxes. Simply pull a cube onto the scene. We will place it and resize to fit. Then, we will chamfer the edges to get the desired shape. If the shape still needs tweaking, you can lock Axis as needed and push/pull the edges to fit.