3DC to Railworks - Locomotive: Cabview Part 3
by Jerry "SMMDigital" Conaway
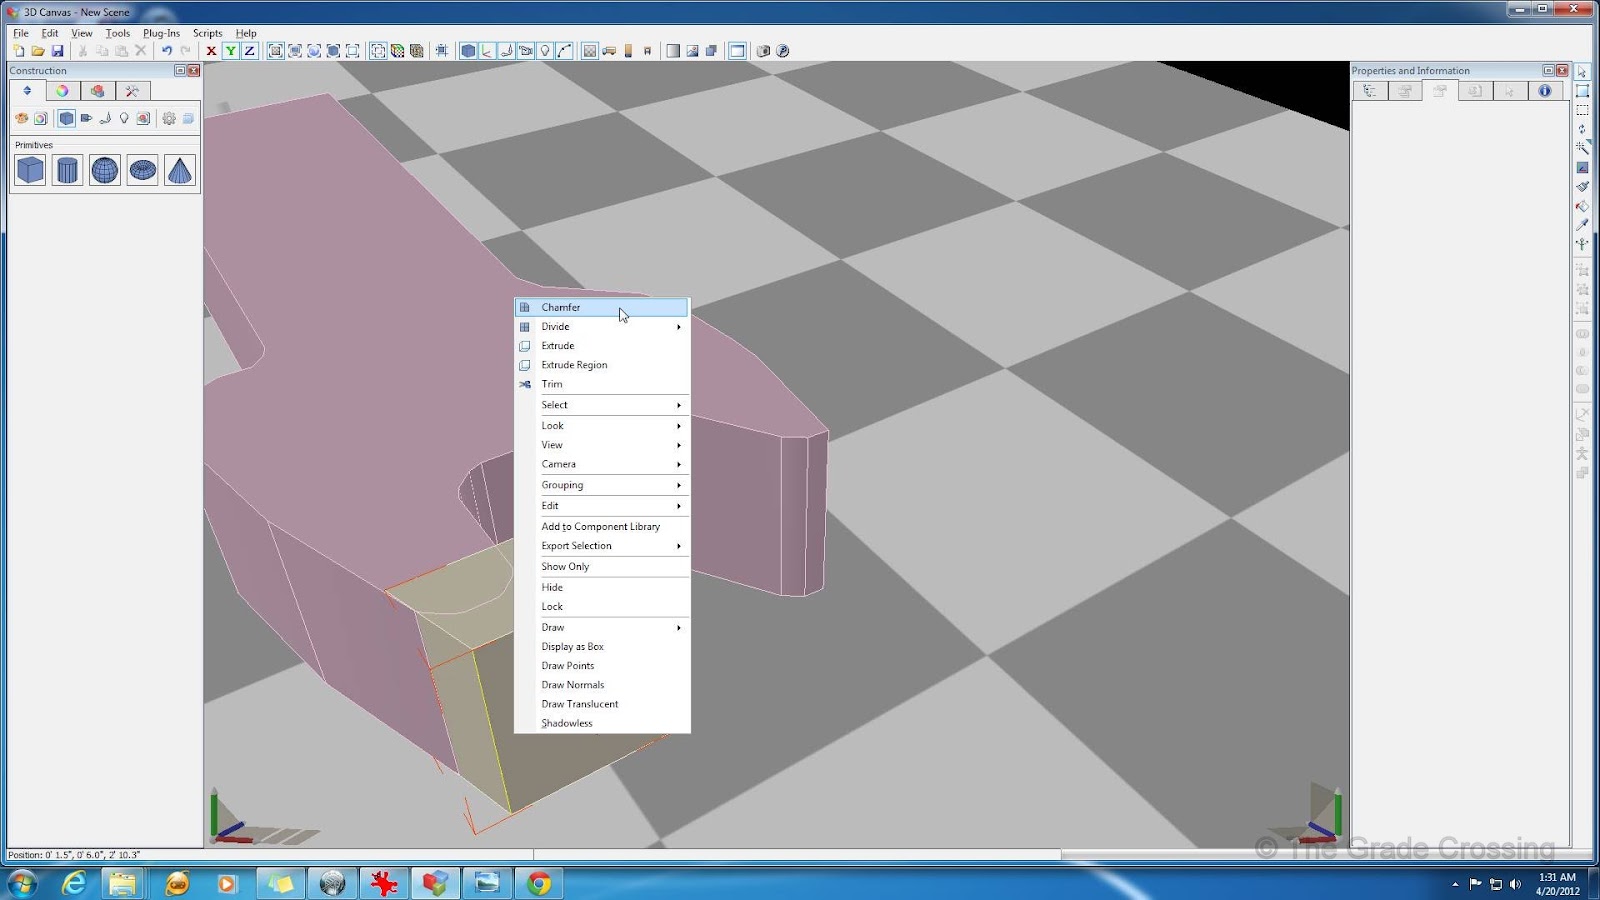
| 265. More Chamfer.
|
|
| 266. Now we will drag a cube onto the scene and use a LOT of pulling, pushing, and Chamfering to make the front part of the coupler.
|
|
| 267. A view of our coupler so far from the top.
|
|
| 268. We need to resize the front end for the correct thickness.
|
|
| 269. In order to thicken the body, we will need to create new points using the Divide commands, and create new division lines by using the Edge command. Once you've divided the part, select the top face and pull upwards until the desired size is reached.
|
|
| 270. Run the same operations on the bottom of the coupler.
|
|
| 271. A bit more Chamfer to round things off.
|
|
| 272. Put a box on top of the coupler to simulate that housing for the internal levers that release the coupler, and round off it's rear end.
|
|
| 273. There are some molded castings on top of the coupler that would be far to hard to simulate using a shape or Piper extension. We will cheat a bit. Start by selecting the entire front end of the coupler ("3", CTRL, drag across all faces).
|
|
| 274. Duplicate the selected faces far enough away from the coupler that you can work with it without interference.
|
|
| 275. Double-Side the new shape.
|
|
| 276. Go to the backside of the shape and select all of the faces. Right-click and select "Extrude Region".
|
|
| 277. You'll get a funny looking creature out of this operation, so in the fields to the right, make sure that "Extrude Using Face Direction" is checked, and give the width of the new extrusion a value of .05, or 1/2".
|
|
| 278. The casting needs to be slightly taller than the coupler, so resize as desired.
|
|
| 279. Cap the end of the coupler with the casting. It's recommended that you delete the faces from the end of the coupler itself to prevent Z-fighting caused by the faces of the new part being to close to the faces of the old coupler.
|
|
| 280. Another box on the bottom, with some division and sculpting to bring out more details.
|
|
| 281. And, one last cube and cylinder made into the shape of the uncoupler lever eye to round out the final detail.
|
|
| Save for the rust-job, our coupler is complete. Be sure that all Axis are zeroed out for proper operation. |
|
As far as grouping for this model, unless you just absolutely want to keep parts in separate Groups, you can group them all into one and remove the LOD designations. LODs are not needed because you won't be far enough away from the interior model that any parts will need to disappear. The only parts that DO need to be kept in separate groups are the control surfaces that will later be animated.
We may have to come back later and make a few adjustments or add/subtract a detail or two, but for all intents and purposes, the primary building phase of our locomotive model is complete. Right now, we could throw a coat of gray primer on it, blueprint it, and have it running the rails within an hour. However, the nit-vultures would tear it apart like third-day road kill, so it's would be a good idea to add a few more details to the model. It would also be a good idea to go back over your model and look for errors or anything that might later cause problems in the game. Some things to look for right off hand would be duplicate part names. The loco will not export from 3DC if those are present. Also a problem are empty Groups (folders) or Groups that are of the same name. These will export, but the loco will show up as empty space.
For the next session, we will be looking at how to apply textures to the model. Although we will still be using 3DCanvas/Crafter, much of the work will be offloaded to third-party imaging programs. Before we reach that point, you need to choose the appropriate imaging program and familiarize yourself with it's operation. I will not be going in depth about how to do mundane chores such as make a new layer or create an Alpha channel, so you need to know these things ahead of time. It would be a good idea as well if you checked out Amabilis.com and took a look at the
Unwrapping Tutorial by Alex. The tutorial is out of date and probably will not work very well on an asset as complicated as our locomotive, but it will give you a pretty good idea what we are in for in the next session.
Published with permission from Jerry Conaway, 2012


No comments:
Post a Comment